
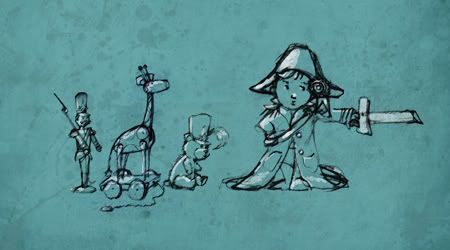
RenataandJonathan's "Charge of the Toy Brigade" was in POLetsy finds last Monday. Today Jonathan will show the process, how this illustration was born!
RenataandJonathan's "Charge of the Toy Brigade"
To get the most of what I am saying you should be familiar with Photoshop already. Don’t be shy with any feedback or questions whatever the level.
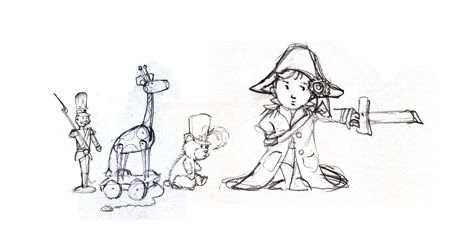
Step 1: The classic thumbnail sketch
I had the basic idea in my head so it only took the one to give me the direction I needed to start.

Step 2: Setting up ze Photoshop File
After a series of rough sketches, I scanned the ones (at 300 dpi, 200%) I liked and patched them together on individual layers (labeling your layers is highly recommended) in Photoshop CS4 loosely place them according to my thumbnail.

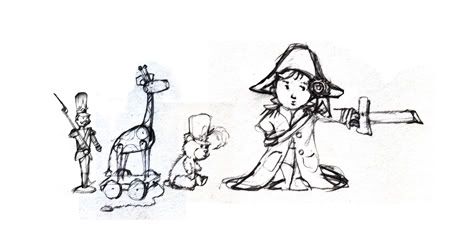
Step 3: Clean Up
After some resizing and jockeying object position, I tighten up my line work first with the “Levels” white eyedropper to remove the unwanted paper tone and debris. Then proceed with the “Eraser” to clean up the drawings.
Step 4: Final Line Art
The fun begins… I save all my original layers of art in a folder and duplicate them. Within my new folder (Flattened_Art) I flatten the layers within and set the blending mode to “multiply.” I am finding if I duplicate this layer, it gives me a nice heavier line without having to mess about with any filters. I then duplicated again and applied, Filter/Brush Strokes/Sumi-e and “C’est voila, fini!” (Filter/Brush Strokes/Angled Strokes has a nice effect on line art, I used this on “Isadore the bunny girl and her little raccoon friend, Ferdinand” and was quite pleased.)
Step 5: Creating a Background
Creating a new bottom layer (which I always affectionately label, “BG”) I chose a color I found suitable.
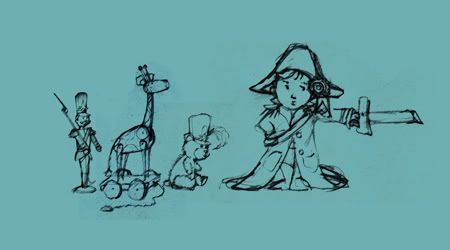
And then created a series of layer, each with a different brush, and proceeded to “paint” a nice texture on each. You will want to play with the opacity levels and blending modes to create the desired effects. In a future blog, I will go into more detail on custom brushes. These layers are situated between “Flattened_Art” and “BG.” Below are my results.
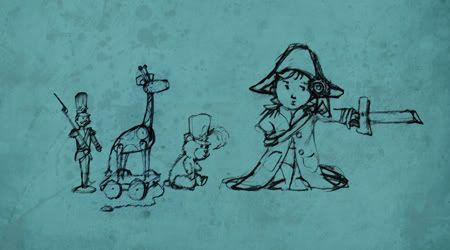
Step 6: Creating some depth
Creating a new layer above “Flattened_Art” and setting the blending mode to “overlay,” I choose a custom brush the gives me a nice rough, almost pastel texture. Painting in white, I proceed to create highlights trying to maintain a fixed imaginary light source.
Step 7: Color and Last Embellishments
On a new layer, blending mode normal, I create a custom color palette of swatches and return to painting with the same brush I used for the highlights. With the elliptical marquee tool I create the “moon” beneath the “color” layer remove thr pottom portion to create a semi-horizon line and “that’s all I got to say about that.” (said in my best Forrest Gump voice).

Thank you Jonathan! :)


Wow, what a pictures! I can't draw :( Hmmmm, I can draw like a on first picture lol
ReplyDeleteThis is exciting!!!
ReplyDeleteDziękuję, Ana & Anna :)
Jonathan
I'm working on a cookbook for kids and I need nice illustrations. This tutorial seems really helpful for me! Thanks :)
ReplyDeleteGood luck with the cookbook. Glad I could be a small help.
ReplyDeleteJonathan